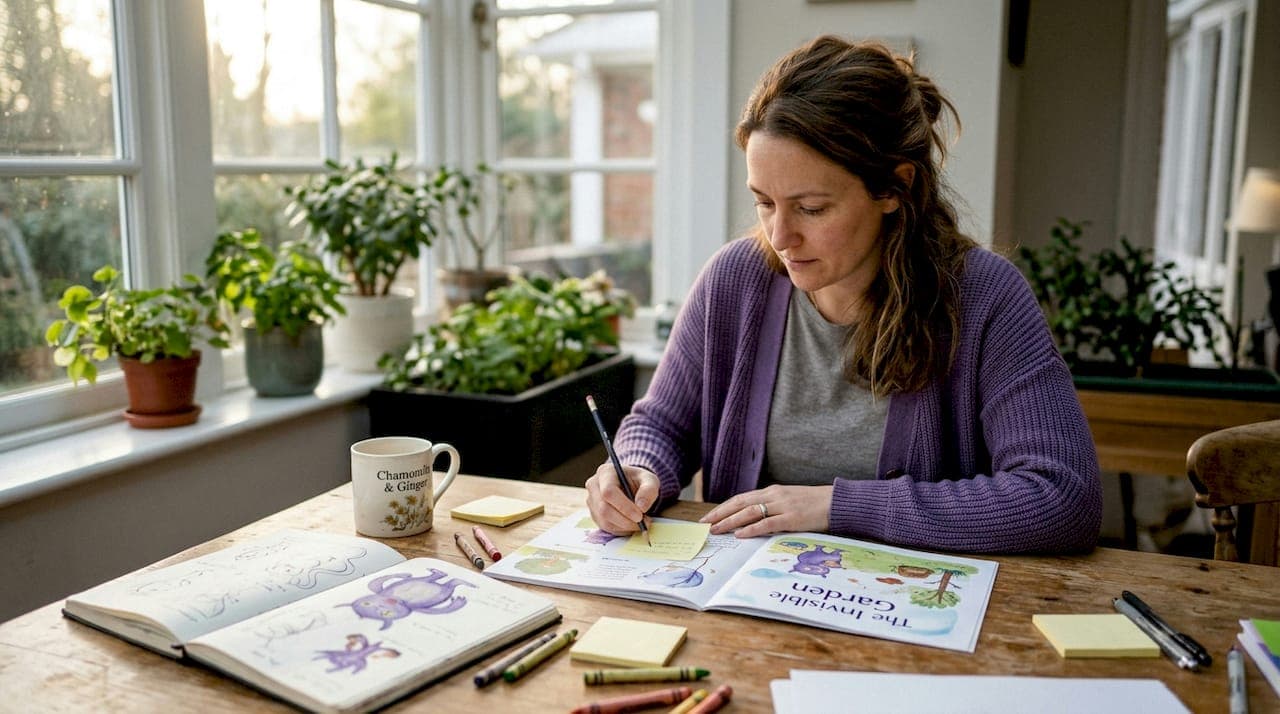
Creating a custom illustrated storybook for a child sounds magical until you realize there are roughly fifteen decisions to make before a single drawing begins. The workflow for custom illustrated books is what separates a project that finishes on time with consistent, beautiful pages from one that drags on for months with costly last-minute changes. In the publishing world, this process is formally called the picture book production workflow, and understanding it gives you a real advantage whether you're hiring an illustrator, using an AI-powered platform, or guiding a classroom project. This guide walks you through every stage, from manuscript readiness to print-ready files.
Table of Contents
- Key Takeaways
- The workflow for custom illustrated books starts here
- From character design to storyboard approval
- Final art, print prep, and quality control
- Tips for avoiding the most common pitfalls
- My honest take on workflows and real personalization
- See your child as the real storybook hero
- FAQ
Key Takeaways
| Point | Details |
|---|---|
| Prepare before you start | Have a near-final manuscript and reference photos ready before any illustration work begins. |
| Approve early and often | Character approval and storyboard sign-off are the two cheapest places to catch problems. |
| Sketch revisions save money | Major revisions done at pencil stage cost far less than changes made after final color is applied. |
| Match files to the platform | KDP needs RGB PDFs; IngramSpark requires CMYK with specific bleed settings. Getting this wrong wastes weeks. |
| Timelines are longer than you expect | Traditional custom books take 3 to 6 months from manuscript to print-ready files. Plan accordingly. |
The workflow for custom illustrated books starts here
Before any drawing happens, you need to get organized. Skipping this phase is the number one reason projects stall.
A solid illustrated book project planning checklist covers four things:
- A completed or near-final manuscript. Not a rough draft. Illustrators need to know exactly how many scenes exist, where page breaks fall, and how much text shares a spread with art. Changing the story after illustration has started is expensive.
- Reference photos and visual inspiration. If you want a character that looks like your child, you need clear, well-lit photos from multiple angles. Bring at least three to five reference images: front-facing, side profile, and one showing the child in natural light. For style inspiration, gather five to ten sample illustrations from books whose style appeals to you.
- A decision on personalized vs. templated approaches. Template books (where a generic character gets a name swap) are fast and predictable. Photo-based personalization, where the character is actually drawn to resemble your child, takes more time but produces something genuinely one-of-one. Neither is wrong. They serve different goals.
- A realistic timeline and budget conversation. If you're hiring a freelance illustrator, vendor workflows typically include a pricing and scope discussion before any creative work starts. Know your budget ceiling before you fall in love with a style that doesn't fit it.
Pro Tip: Create a single shared folder (Google Drive works fine) with your manuscript, reference photos, and style inspirations before your first conversation with an illustrator. It signals that you're organized and cuts your back-and-forth time in half.
For more detail on how the full process maps out from start to finish, the Adventuresofbook guide on making a personalized book is worth reading alongside this one.
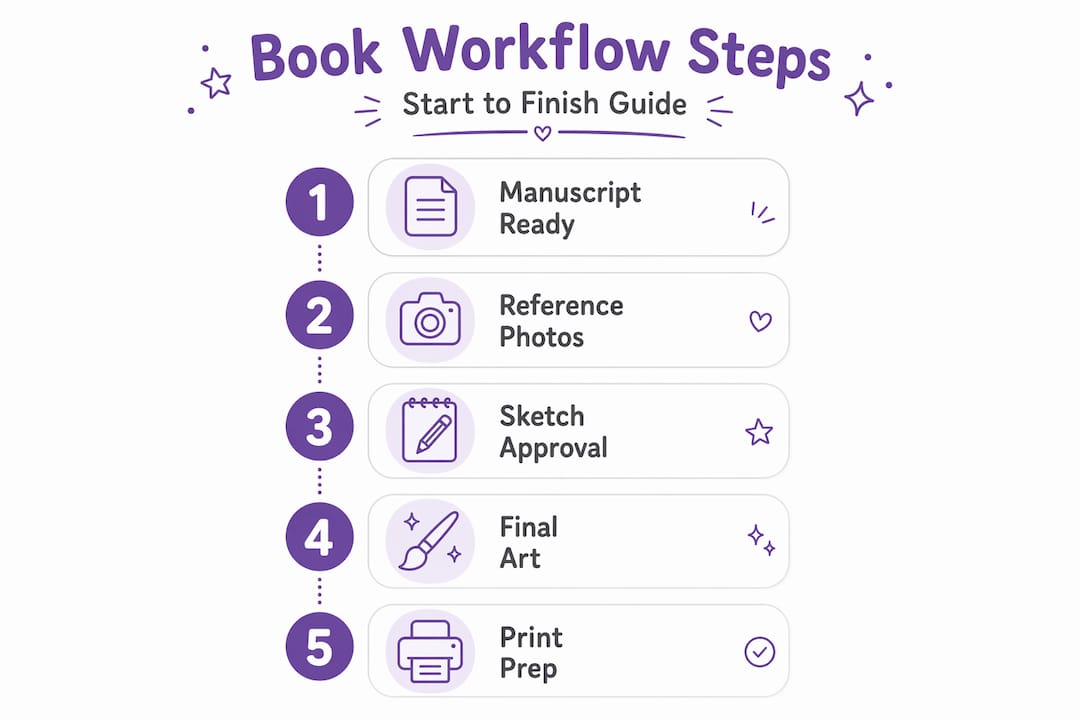
From character design to storyboard approval
This is the creative core of the custom book illustration process, and it has four distinct stages. Each one needs a clear approval before the next begins.
-
Character concept development. The illustrator creates two to four rough character studies based on your reference photos and style notes. This is not a finished drawing. It is a test to confirm that the proportions, hair, skin tone, and overall feel match the child. If you are using photo-based AI generation, this stage happens algorithmically but the principle is the same: you review the character likeness before the full book is generated. Approve nothing that doesn't feel right at this stage. Changes here cost almost nothing.
-
Thumbnail sketches. Once the character is approved, the illustrator creates small, rough thumbnail layouts for each page spread. Think of them as tiny rectangles showing where the character stands, where the text sits, and what direction the action moves. A standard picture book typically runs 24, 32, or 40 pages. Thumbnails let you check pacing visually before any detailed work begins. Does the story feel fast or slow? Are there too many text-heavy pages in a row? This is where you fix that.
-
Storyboard and narrative flow review. Storyboarding expands the thumbnails into larger sketches that show each spread in more detail. A structured illustration workflow validates visual continuity and emotional flow before detailed production begins, because storyboarding is the last stage where creative changes are inexpensive. At this point you're checking whether the visual storytelling makes sense without the words, whether the child character feels consistent from page to page, and whether any scene feels confusing or cluttered.
-
Sketch refinement and final line approval. The illustrator tightens the approved storyboard into clean pencil or digital line sketches for each page. This is your last free pass for structural changes. Confirm character consistency, expression accuracy, and scene clarity. Sign off only when you are confident, because approval gates at this stage are what prevent expensive late-stage redesigns.
Pro Tip: Ask to see two or three fully colored sample pages before the illustrator completes all the final art. Approving the color style on a small sample saves both time and budget if adjustments are needed.
Final art, print prep, and quality control
Once sketch approval is locked, the illustrator moves into final rendering. This phase is where most of the calendar time disappears. Each full-spread illustration can realistically take 8 to 20 hours to render completely, which is why a 32-page book often takes weeks just for final art production.
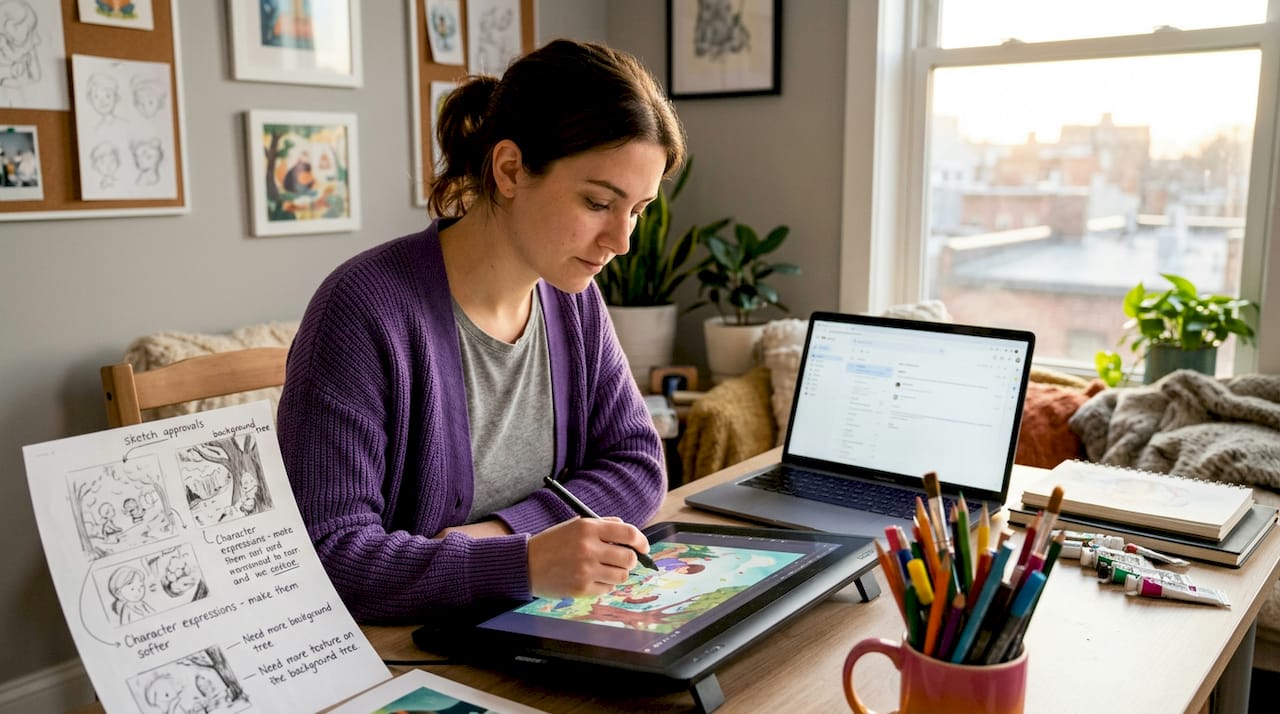
The design workflow for custom books at this stage involves more technical decisions than most parents expect.
Color and emotional tone
The color palette is not decorative. It shapes how the book feels. Warm yellows and oranges read as adventurous and cheerful. Cool blues and greens feel calm and dreamy. Before the illustrator begins final rendering, confirm the palette direction in writing. A one-line note like "warm, saturated, daylight feel" is enough.
Prepress requirements
This is the part nobody warns you about, and it is where many self-publishing projects fail. Here's what your final files need to meet print standards:
- Resolution: 300 DPI minimum at the final print size. Lower resolution produces blurry printed pages.
- Bleed and margins: Most print platforms require 0.125 inches of bleed on all sides. Text and critical art must stay inside the safe margin zone.
- Color profile: KDP requires RGB PDFs, while IngramSpark requires CMYK with specific bleed settings. These are separate export workflows, not one file that works everywhere.
- Embedded fonts: Any text set in a custom font must be embedded or converted to outlines before export.
| Platform | Color mode | Bleed required | Max file size |
|---|---|---|---|
| Amazon KDP | RGB | Yes (0.125 in) | 650 MB |
| IngramSpark | CMYK | Yes (0.125 in) | 400 MB |
| Home printing / PDF | RGB or CMYK | Optional | Varies |
For a broader technical checklist, the self-publishing guide at Librida covers platform-specific requirements in depth.
Quality control before delivery
Do a final pass checking four things: character consistency across every page, correct bleed on all spreads, readable text at print size, and matching color tone from the approved sample. Print one test copy at home before ordering a professional print run.
Tips for avoiding the most common pitfalls
Even well-planned projects hit snags. Here is where most of the problems show up and how to handle them.
- Do your revisions at sketch stage. This point cannot be overstated. Changes after final color are generally limited to minor tweaks. Most projects budget two to three sketch rounds and one final color round. Use those rounds wisely.
- Give specific feedback, not general reactions. "The nose looks different from page 3 to page 7" is useful. "I don't know, it just feels off" is not. Actionable client feedback respects the illustrator's expertise and moves the project forward faster.
- Plan for the real timeline. A professionally illustrated custom children's book typically takes 3 to 6 months. If you need a book for a birthday in 8 weeks, a traditional illustration workflow will not get you there. See Adventuresofbook's breakdown of how long custom books take for a realistic picture of each phase.
- Watch your file sizes before uploading. Amazon KDP has a 650 MB file size limit. Illustrated books with many full-bleed pages can hit that ceiling fast. Compress images to 300 DPI at final size rather than keeping them at the resolution they were created in.
- Don't confuse digital approval with print approval. Colors on screen look different from colors on paper, especially if you are switching from RGB to CMYK. Order a physical proof copy before committing to a full print run.
Pro Tip: If you are working with a freelance illustrator for the first time, ask them to show you their revision policy in writing before signing anything. Knowing whether you get two or five rounds of sketch revisions changes how carefully you need to review each stage.
My honest take on workflows and real personalization
I've spent years looking at how custom illustrated children's books actually get made, and one thing consistently surprises people: the workflow is where the quality lives. Not the illustration style. Not the story. The process.
When a project skips the approval gates, you end up with a book where the main character looks slightly different on page 2 than she does on page 11. Kids notice that. It pulls them out of the story.
The other thing I keep coming back to is the template problem. A lot of books marketed as "personalized" are really just name-swap books. The child's name appears on the cover and maybe three times inside, but the character looks nothing like them. That is a fine product for what it is. But it does not give a child the feeling of actually being in the story.
Photo-based character creation changes that. When the illustrated kid has the same curly red hair, the same round cheeks, the same gap-toothed smile as the actual child holding the book, something different happens. The child doesn't just read about an adventure. They believe they went on one.
A structured workflow is what makes that level of detail repeatable and affordable. Without clear approval gates and technical prep, photo-based personalization would be too unpredictable to offer at any reasonable price or timeline. The process is not the boring part. It is what makes the magic part possible.
— Jason
See your child as the real storybook hero
If the traditional 3-to-6-month illustration timeline doesn't fit your life right now, Adventuresofbook takes a different approach. It uses real photos of your child to generate an original story and matching illustrations where your child is the actual character, not a generic stand-in. There are no templates and no name swaps.
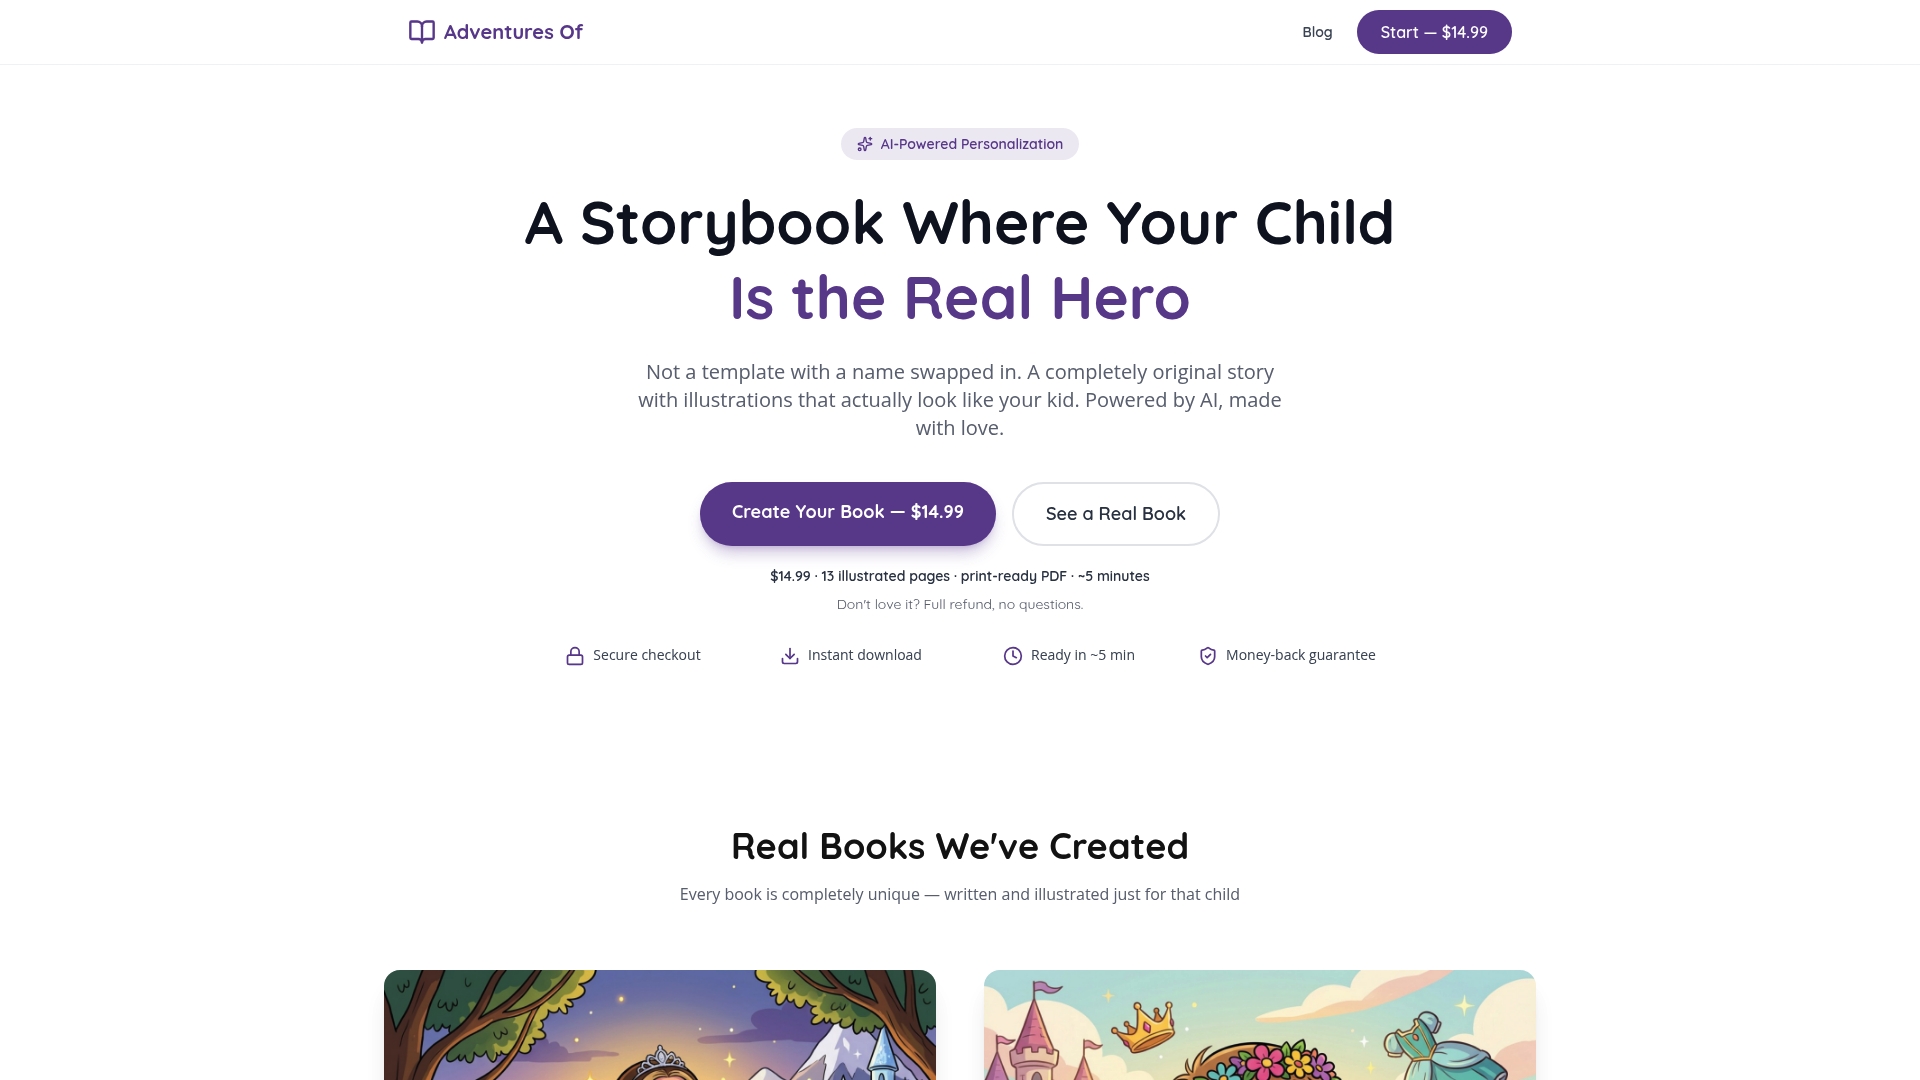
The result is a 13-page illustrated storybook in an 8.5x8.5 print-ready PDF, generated in about 5 minutes for $14.99. You can download it instantly and print it at home or through any local print shop. If you are not happy with the result, there is a 7-day refund. You can see the personalized children's books or go straight to create your child's book and see what it looks like with your own photos.
FAQ
What is the first step in a custom illustrated book workflow?
The first step is finalizing your manuscript and gathering reference materials, including character photos and style references, before any illustration work begins. Starting without these leads to expensive mid-project changes.
How long does a custom illustrated children's book take?
Traditional custom illustrated books typically take 3 to 6 months from manuscript to print-ready files, depending on page count and revision rounds. AI-assisted platforms can complete a book in minutes.
When is the best time to request revisions?
The sketch phase is the best time to request revisions because changes at that stage cost far less than revisions after final color is applied. Most illustrators budget two to three sketch rounds per project.
What file format do I need for printing a custom illustrated book?
KDP requires an RGB PDF, while IngramSpark requires a CMYK PDF with 0.125-inch bleed on all sides. Preparing separate exports for each platform avoids upload errors and color shifts in the final print.
Can I use my child's photo to create a personalized storybook character?
Yes. Photo-based personalization means an illustrator or AI system draws the main character to resemble the actual child using uploaded reference photos. This produces a more genuinely personal result than a template book with a name substitution.