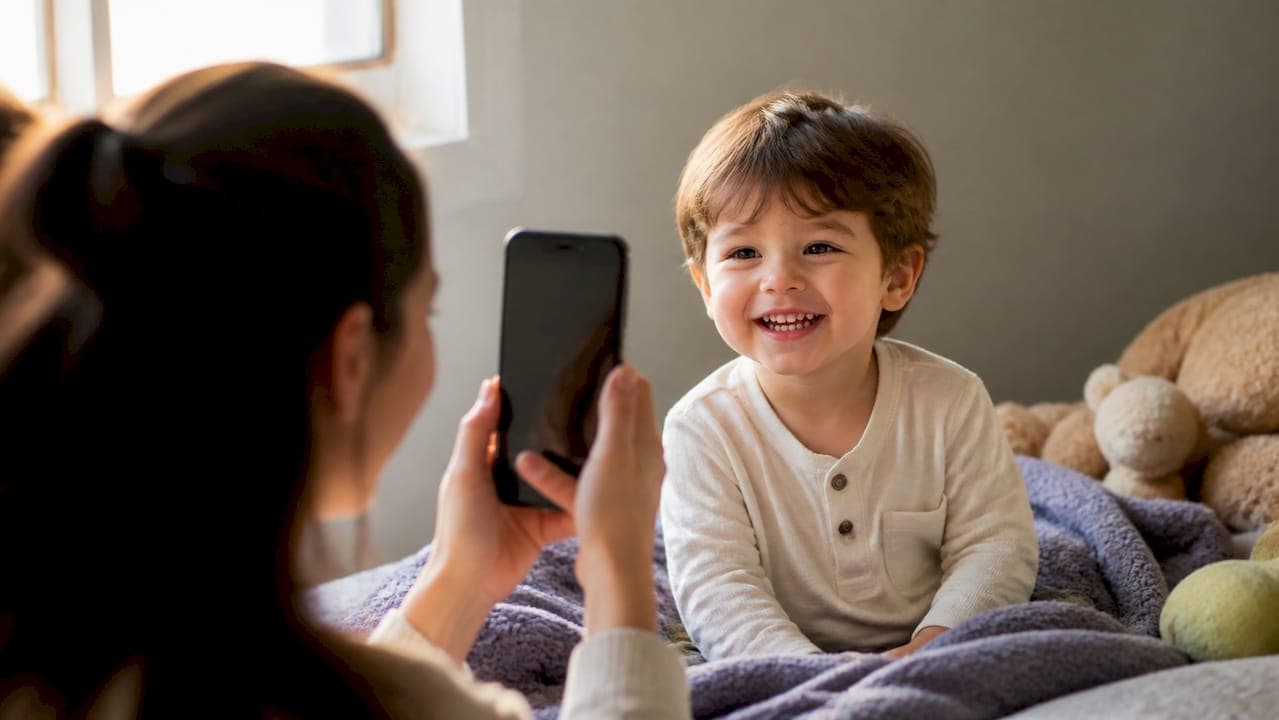
Upload a curated set of sharp, well-lit head-and-shoulders photos taken in soft daylight, and the AI has what it needs to produce consistent, print-ready illustrations of your child. That single rule covers most cases when parents are unhappy with how their personalized storybook turns out.
Before you pick or shoot a single photo, run this 30-second check on each image:
- Recent. Taken within the last few months, reflecting the child's current hair and face.
- Face visible. No hands, hats, or shadows blocking the eyes or jawline.
- Natural expression. Soft smile or neutral; no wide-open mouth or squinting.
- Clean background. Plain wall, soft grass, or simple indoor setting.
- Original file. Saved directly from the camera or phone, not a screenshot or re-shared social post.
These inputs train the child's identity model so the illustrated face stays consistent across every scene in the book and prints cleanly at the 8.5×8.5 format Adventuresofbook produces.
Table of Contents
- How many photos should you upload, and which ones?
- What framing and expressions work best for AI illustration?
- Why lighting and sharpness matter more than anything else
- Which photos should you skip entirely?
- How to prepare your files before you upload
- What to do when the illustrations don't look like your child
- How does the AI actually use your photos, and what about privacy?
- How to share photos without exposing personal data
- Key Takeaways
- The part that actually makes the gift worth giving
- What Adventuresofbook does with your curated photos
- Useful sources
- FAQ
How many photos should you upload, and which ones?
The practical sweet spot is 12–15 photos; you can go up to about 20 if every image is genuinely sharp and well-framed. More than that rarely helps, and a batch of 30 mediocre shots will produce weaker results than 12 strong ones.
For variety that still stays consistent, aim for:
- Three to four front-facing head-and-shoulders shots
- Two or three slight-angle shots (15–30 degrees off center)
- Photos showing two different outfits
- At least one indoor and one soft-outdoor image, both well lit
- Consistent hairstyle across all photos (or at least the majority)
When you only have a handful of good images, prioritize recency and sharpness over variety. A recent, sharp, neutral-expression photo that shows the child's hair outline and both eyes clearly will do more for likeness than five older shots taken in poor light.
What framing and expressions work best for AI illustration?
Face framing has a bigger impact on likeness accuracy than most parents expect. The AI maps facial proportions from your reference photos, so how much of the frame the face fills matters.
Aim for these framing rules:
- Head-and-shoulders or waist-up composition
- Face centered or slightly off-center, filling a significant portion of the frame
- Camera at the child's eye level, not shooting down from adult height
- Camera distance of 3–6 feet to avoid wide-angle distortion from a phone held too close
For expressions, neutral or a soft, relaxed smile works best. Eyes should be open and looking toward the camera. Avoid wide-open mouths, exaggerated grins, or strong side profiles. Creating a simple character reference with a neutral pose and a couple of slight angles gives the AI the anchor it needs to keep the character consistent across pages.
For toddlers who never hold still, use burst mode and pick the sharpest frame afterward. Getting down to the child's eye level makes a real difference in proportion accuracy.
Why lighting and sharpness matter more than anything else
The AI cannot fix blur. A blurry or poorly lit input produces a blurry, inaccurate output every time, no matter how many photos you upload. Think of it the way you'd think of a portrait session: if the source is crisp and well-lit, the output looks professional.
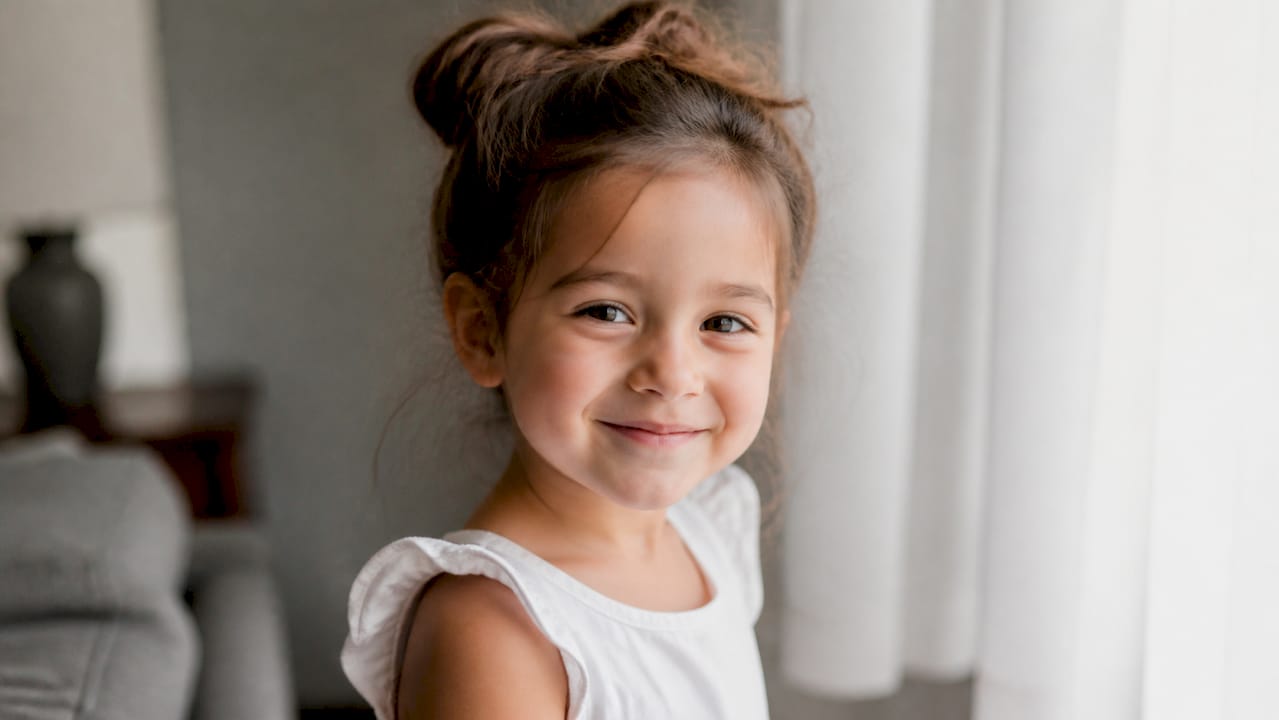
The best light is soft, diffused natural daylight. Position the child facing a large window on an overcast day, or shoot outside in open shade. Direct on-camera flash and backlight both obscure the facial features the AI needs, so avoid them entirely.
For sharpness, use the rear camera on your phone rather than the front-facing one, keep your hands steady or prop the phone against something, and use burst mode for moving children. Before you save any photo for upload, zoom to 100% and confirm both eyes are in focus with no motion blur.
Pro Tip: Keep one untouched original copy of every photo you plan to upload. Crop and edit duplicates only, so you always have the full-resolution master if you need to reprocess.
Which photos should you skip entirely?
Some image types consistently produce poor results, and uploading them wastes slots in your 12–15 photo set. The AI needs the face to fill a meaningful portion of the frame; a child in the background of a family shot gives it almost nothing to work with. Screenshots of social media posts are equally problematic because the platform has already compressed and resized the image, stripping out the facial detail the model needs.
Heavy beauty filters, AR effects, and face-altering apps change the child's actual proportions. The AI will reproduce those altered proportions in the illustrations, not the child's real face. Very old photos, where the child looked significantly different, create inconsistency across the identity model.
If all you have are poor images, plan a short retake session using the 30-second checklist at the top of this guide rather than trying to force weak inputs through the generator.
How to prepare your files before you upload
Getting the file specs right takes about five minutes and prevents the most common technical upload issues.
- Upscale only if necessary. If the subject is very small in the frame, use an AI upscaler before uploading. For print, 300 DPI at final dimensions is the professional standard; if you need to upscale, two passes of 2x tends to produce cleaner results than one large jump.
| File detail | Recommended spec |
|---|---|
| Format | JPG or PNG (original camera file) |
| Resolution for upload | Highest available from device |
| Print DPI target | 300 DPI at 8.5×8.5 inches |
| Upscaling method | Two-pass AI upscale if needed |
| Files to avoid | Screenshots, filtered exports, re-saved social downloads |
Pro Tip: Start with the original high-resolution file, crop and clean before generation, and upscale only when necessary. Zoom to 100% to inspect for compression artifacts before you finalize your upload set.
What to do when the illustrations don't look like your child
Run through this short diagnostic before you decide to start over.
Too few photos is the most common cause. If you uploaded fewer than 12, add several fresh shots that match the preferred framing. Inconsistent hair or age across images is the second most frequent issue; remove any photos where the child looked noticeably different. Blocked faces, heavy filters, and low-resolution images round out the usual suspects.
Practical fixes: add fresh neutral headshots, remove any filtered images, and bring the total up to at least 12. Generating 4–6 variations and picking the best result is a reliable way to find a strong output without starting the whole process over.
If many images show motion blur, off-color lighting, or the child's look has changed significantly (new haircut, new glasses), a short retake session is faster than troubleshooting a weak input set.
How does the AI actually use your photos, and what about privacy?
The photos you upload act as training data for the child's identity model. The AI reads face shape, skin tone, hair outline, and eye placement from your reference set, then applies those features consistently across every illustrated scene in the book. A curated, consistent set of inputs has an outsized effect on how recognizable the child looks on every page.
Before the final export, you'll see sample illustrations to review. Use that preview to check the eyes, hair silhouette, and overall proportions at 100% zoom. If something looks off, that's the moment to flag it rather than after print.
On privacy: Adventuresofbook handles uploaded photos with data protections tied to that child's book, offers a clear removal process, and backs every order with a 7-day money-back guarantee. For a full breakdown of how your data is handled, the secure digital storytelling checklist covers what's stored, for how long, and how to request deletion.
How to share photos without exposing personal data
You don't need to strip all metadata to upload safely, but a few habits reduce unnecessary exposure.
Before uploading, use your phone's built-in photo editor or a free tool like Google Photos to remove location data from the EXIF metadata. Most phones let you turn off location tagging in camera settings entirely, which is the simplest long-term fix. Avoid uploading photos that show identifiable background details like a home address, school name, or street sign. Crop those elements out before upload.
Use the service's direct upload flow rather than sharing photos through third-party messaging apps, which often re-compress and re-tag files. Adventuresofbook's upload process is direct and encrypted, so the file goes from your device to the generator without passing through unrelated platforms.
Key Takeaways
Choosing the right photo quality for a gift book comes down to one principle: treat your source photos like a professional portrait session, and the AI will produce illustrations that genuinely look like your child.
| Point | Details |
|---|---|
| Upload a curated set of sharp, consistent images outperforms a large random batch every time. | |
| Soft daylight is the rule | Face the child toward a large window or shoot in open shade; skip flash and backlight entirely. |
| Head-and-shoulders framing | Face should fill 60–70% of the frame at the child's eye level, 3–6 feet from the camera. |
| Skip filters and screenshots | Heavy filters, AR effects, and social media screenshots alter proportions and strip resolution. |
| Adventuresofbook fits this workflow | Upload your curated set at adventuresofbook.com/create for a $14.99, 13-page, print-ready PDF in about 5 minutes. |
The part that actually makes the gift worth giving
There's something specific that happens when a child opens a book and the character on page one has their exact hair, their face, their look. Not a generic cartoon with their name printed at the top. Their face.
That moment is entirely dependent on the photos you choose. A calm 10-minute photo session, good window light, and a handful of sharp images is all it takes. You don't need a professional photographer or special equipment. You need a phone, decent light, and a child who's not mid-sneeze.
Hurried parents sometimes skip the photo prep and upload whatever's on their camera roll. The book comes back looking approximate rather than accurate, and the gift loses most of its power. The prep is genuinely worth the extra few minutes.
What Adventuresofbook does with your curated photos
Once you've followed this guide's checklist, you have everything Adventuresofbook needs to produce a finished, printable storybook. The service generates an original story and original illustrations built specifically around one child, using the photos you upload as the reference for every illustrated scene. No templates, no swapped-in names, no stock characters.

The output is an 8.5×8.5 print-ready PDF with 13 illustrated pages, generated in about 5 minutes. You can download it immediately or order a printed copy shipped directly to you or as a gift. The one-time price is $14.99, and every order includes a 7-day refund policy.
When your 12–15 photos are ready, start creating your child's book at Adventuresofbook. The upload process takes about 5 minutes, and the photo checklist in this guide is all the prep you need.
Useful sources
These are the practical guides used to build this article. If you want deeper technical detail on any specific step, these are worth reading in full.
- How to Take the Perfect Photo for Your Personalized Book – Wondeme
- Selecting the Ideal Input Images
- AI Art Generator from Photo: Practical Workflow Guide
- How to Illustrate a Children's Book with AI (2026) | Dupple
- How to upscale AI-generated images for print — Arteza
- AI photoshoot for creators — Playyy
- Preparing your photos for AI editing — AI Photography Training
FAQ
How many photos should I upload for a personalized storybook?
Upload 12–15 photos for best results; you can go up to about 20 if every image is sharp and well-framed. A curated set of strong images consistently outperforms a large random batch.
What resolution do photos need to be for a gift book?
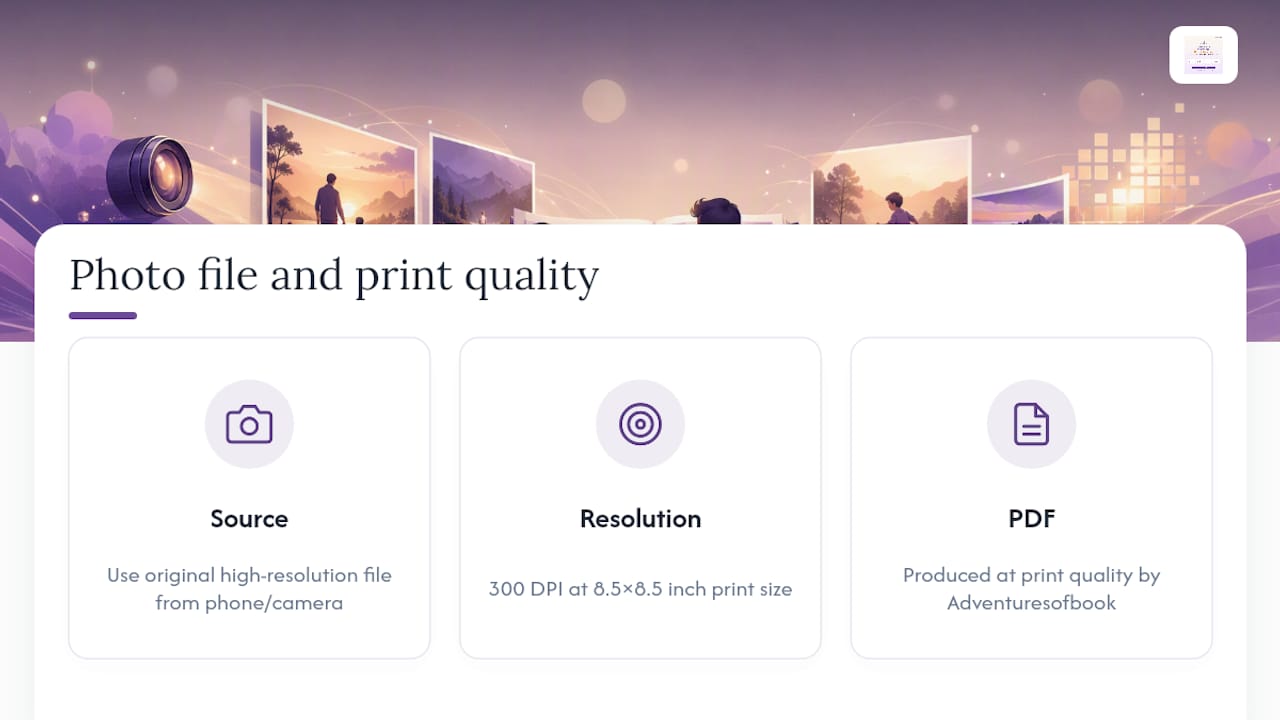
Use the original high-resolution file from your phone or camera. For the final printed output, 300 DPI at the 8.5×8.5 inch print size is the professional standard; Adventuresofbook's PDF is produced at print quality.
Why don't my child's illustrations look accurate?
The most common causes are too few photos, inconsistent hair or age across the set, blocked faces, heavy filters, or low-resolution screenshots. Add 3–5 fresh neutral headshots and remove any filtered or compressed images to improve likeness.
Can I use group photos or filtered selfies?
No. Group photos where the child's face is small give the AI too little facial data, and filters alter the proportions the model needs to reproduce accurately. Use individual, unfiltered photos only.
Does Adventuresofbook protect the photos I upload?
Yes. Adventuresofbook stores uploaded images with data protections tied to that child's book, provides a clear removal process, and backs every order with a 7-day money-back guarantee.